Showing posts with label card making. Show all posts

Monday, 25 October 2010

The Snowman


I loved the Snowman when i was younger, it was like a family tradition that we watched it all together on Christmas eve while Mum provided mince pies and hot chocolate so when I saw some Snowman postcards I had to buy them. The problem is I didn't want to just stick them onto cards, this didin't seem very creative to me. So instead I used three or four of the same design and created my own decoupage by cutting out different pieces from each image and layering them on top of one another. On some cards I used bright glittered papers with them for a modern look, where as others I used blue paper, to look like the snowy sky, I have to say I'm quite pleased with the results.


Wednesday, 20 October 2010

Elephants.

As I said previously I recently brought a new elephant template, which I just love, so I thought I'd show you some of the crafting I've done with it.

I made some lovely cards using the elephant template, some beautiful patterned paper and some peel off stickers or greetings I got from a magazine. The result is simple, elegant yet fun cards for any occasion.

Thursday, 14 October 2010

I'm Back!!!

Well after a long and very busy summer, I'm back to my blogging. I've only just been able to find time to craft recently, but unfortionately had no time to blog, so I have lots to post about in the next few weeks. I've recently been focusing on card-making, getting ready for Christmas in particular, but this week I'm going to start making some little felt decorations too, yes thats right I've caught the sewing bug!

Although busy, I have managed to fit in a couple of craft shows.... I went to Alexandra Palace for the The Big Stamp & Scrapbooking Show on 25th September. I came away with some fabulous papers, cardblanks, foam tape,  embellishments and a lovely little elephant template which I've used so much already. Then on 3rd October we went to Hatfield house for the Rock Gem 'n' Bead show, I got some lovely gemstones which I intend to wrap in wire cages as pendants for my necklaces, and earings.

My jewellery making has been great through the summer as I've been able to squeeze in half an hour here and there without having to unpack lots of craft things, I enjoyed sitting in the garden for a while after work creating beaded gifts for people, while trying (and failing) to get a summer tan.

Buttons are also high on my agenda this month. I'm intending to try out some button covered favour boxes for my wedding with some little boxes I brought on sale for 10p each, and some more button jewellery too. We'll see how that goes......

Anyway off to work for me, there will be some pictures and crafts posted tomorrow. xxx

Friday, 9 July 2010

Big Cards...

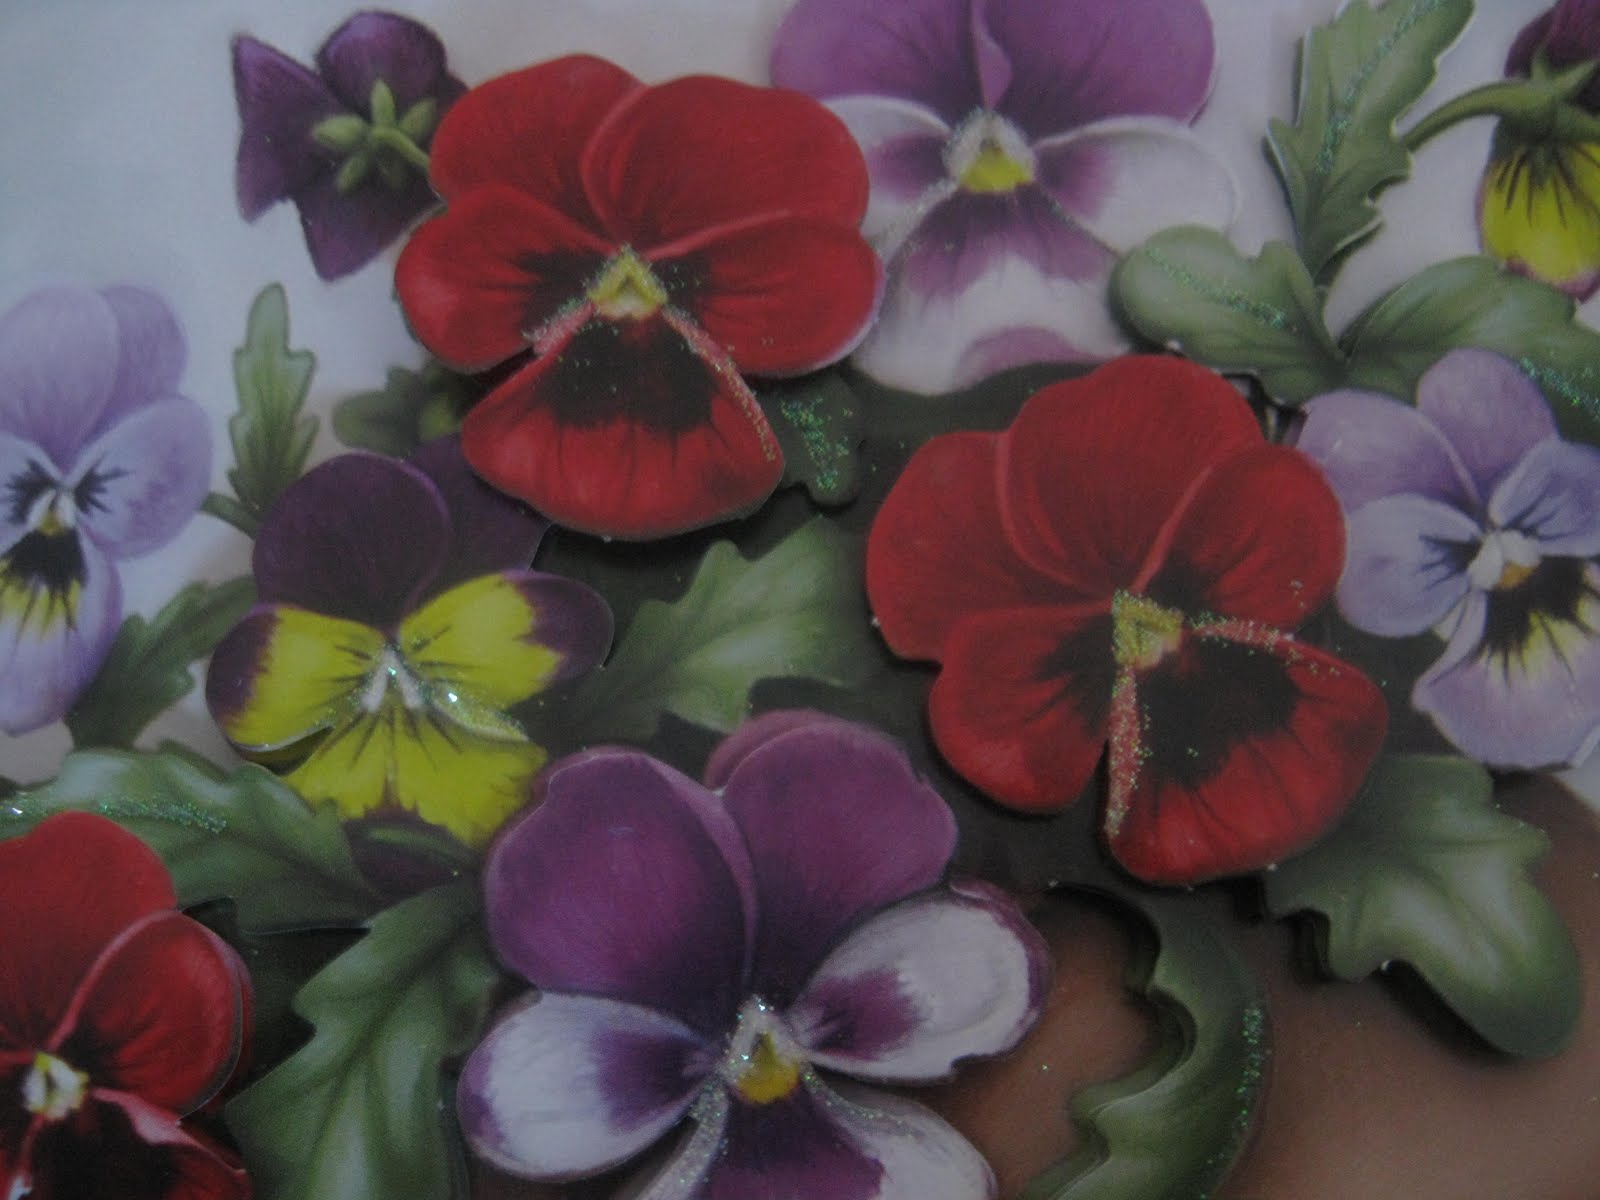
I've been focusing on scrapbooking alot more than cardmaking recently but when I saw these two A4 card kits in a sale for just £1.00 each I decided to give them a go. The kits had so much stuff in that I think I'll be able to make at least 4 more cards from the embellishments I've got left.

Purple Flower Card:
I love all the glitter details on this card and that the decoupage has four layers to really add depth.


Yellow Sunflower Card:
This card comes with gorgeous fouiled details around the edge and four layer decoupage really gives the card depth.

Friday, 25 June 2010

Floral Teacup Card

I made this cute birthday card for a friend who is really crafty so I knew I wanted to make something that would impress. Her style is elegant and simple which I think I've managed to capture. I normal keep florals quite plain, but I decided to try using clashing patterns (which I keep hearing is a big trend at the moment) and think it came out quite well. I used an Anitas glitter decoupage for the flower teacup, I love Anitas decoupage as it's die cut and it's quite easy to use without any fiddely cutting out (which I can be hit or miss with). The background was made using Papermania 12"x12" Paper & Die-cut Pack - Rose Garden, which comes with papers, borders greetings and die-cuts. I used a background paper, a border and a greeting on this card. The pack costs £5.99, which is a real bargain for all you get in it. I also chalked the edges with pink for a vintage look. Overall I'm very pleased with the result, and I hope Sue is too. 

Monday, 21 June 2010

Teenage Cards

I was reecently asked to make a birthday card for a friends teenage daughter, which made me realise that my stash was sorely missing teenage friendly embellishments. Luckily I found these decoupage sets on QVC which I think are just great for teenage girls.

I think this pink card is quite unusual, parrticularly the greeting, and I loved the foiled effect on the borders. I layered the decoupage used patterned background paper and a greeting.


This blue card was made by layering up the decoupage adding it to swirly card and adding a greeting and some glitter dots. I'm very pleased with the result. I like the foiling on the edges and the girls t shirt and tried to match this by using a background with foiling on.

Wednesday, 24 March 2010

Anitas 3D Butterflies......

At the minute I'm loving Anita's Dimensional Stickers - Fairy Wings. You get one sheet of dimensional holographic butterflies for just RRP £1.25.

I've made two cards with them so far:

1. Happily ever after.......


2. Just for my Mummy. (This was Mums Mothers Day card)

Monday, 22 March 2010

Fly away to fairy land.

At the moment I'm rediscovering monochrome. In this card I used black, white and tones of  grey and accented it with pink. I made this card using a topper set, I love these for a quick and easy make.

Method:
  • Take an A4 piece of black textured card and fold in half using a bone folder.
  • Matt a piece of patterned paper onto white card and mount onto the card blank with 3D foam pads.
  • Take four fairy toppers and arrange in a square onto the patterned paper.
  • Add a greeting, mine reads 'Make a wish and wave your wand then fly away to fairy land', and two buttons on either side.
  • Finish by adding gems to the fairies.

Friday, 19 February 2010

Elephant Card

I was in the mood yesterday for a bright and colourful card (I wanted one to send to a uni friend up in Newcastle), so I came up with this lovely elephant card. I love this fun safari paper (I think it's DCWV but the front cover was lost years ago...). The elephant was simply cut out from another paper with a circle cutter and mounted onto the card, the I surrounded the image with Papermania mini buttons in sunny oranges and yellows. The greeting is a rub-on I've had in my stash for ages and never got aroung to using. This card cheered me up on a cold, dull day.


Also, check out http://jacqui47.blogspot.com/2010/02/sweet-thank-you.html for the chance to win some great craft candy!!!!!!

Thursday, 18 February 2010

Anitas 3D glitter decoupage

I love these decoupage sets, they're so pretty and girly. There are lots of sheets to choose from and they all come diecut so they are very quick to put together without all the fiddely cutting out.They have an RRP of just 99p and each sheet comes with three floral decoupage images which are beautifully glittered. 
Here are my first two examples:


I love this image, it's so pretty and the butterfly is lovely. I used a deep leafy coloured background with a pink mount for the greeting to tie in with the pink on the butterflies wings.


On this card I punched some daisies out of the corners to continue with the floral theme. I used a more pastel green for the background. This image is just such a wonderful pink colour.

Wednesday, 17 February 2010

Envelopes

Envelopes are the first impression people get of your card and it's important to make them as beautiful as possible. At the minute I'm loving lining my envelopes to match my cards.

It's easy to do too:
1. Just draw around your envelope on your selected patterned paper.
2. Then cut 1cm off the slanted sides at the top, and 1cm from the bottom.
3. Run tape runner around the edges and pop it into the envelope leaving the gummed edge uncovered.

Top Tip: Use a thin paper so the envelope isn't too bulky or heavy.

My examples:
1. Pears Soup Vintage Card:
I found this amazing vintage looking toppers advertising sap, cigerettes, food etc, and just fell in love with them. They are just so pretty. I used one on this card with some georgeous green paper, a rub on greeting and a little white bow for a fresh look.

2.Cigarette Vintage Card:
Another card using those great vintage toppers. I teamed this one with LLB paper, a rub on a bow and 3 glitter dots(anitas) for a more luxurious, decadent look.


3. Pink Bird Card
This card is made using amazing shocking pink paper, a beautiful bird image which I framed with Anitas glitter outlines and a rub on greeting. This bold card is perfect for Spring.

Monday, 15 February 2010

Honey & Hugs Decoupage

As promised some cards made using the new Honey and Hugs collection. These were made with the decoupage and papers. I really love this cute, fun collection from Papermania.

1. This little piggy.....
For this card I simply made up the decoupage, mounted it onto blue cardstock then stuck it onto a lovely background paper (The Spring Stack) attached a ribbon and bow (Papermania), mounted the greeting onto coordinated cardstock and stuck it over the ribbon.


2. Baaah Baaah Rainbow Sheep.....
For this card I stuck a rectangle of Honey and Hugs paper onto a white card blank, then added a decoupage sheep and three white glitter dots (Anitas).


3. Twit Twoo a card for you.....
My fiance actually made this card when I forced him (he wanted to craft really) to have a crafty day with me over the weekend. I think he has done an amazing job, and he even let me teach him how to line envelopes!!!! Well done James!!!!


Wednesday, 10 February 2010

Honey and Hugs.

I've not had much time to craft this week. But I'm going to spend tonight doing some serious catching up with my 2010 scrapbook and making a start on my Easter cards (I know it's a bit early but I love the chick and bunny embellishments I've got in my stash to use up)


I just love the new Honey and hugs collection from Papermania, (not only is it beautiful it also has a fab name).
It comes in notelets, papers, stamps, stickers, embellishments and decoupage.
I think that the pretty pastel colours are just perfect for spring and I love the notelets for adding journalling to scrapbook pages, the characters are so cute and fun too (my favourite is the little chick)
I'm hoping to make some cards and scrapbook layouts with these products tonight, so I'll post the results shortly.

Sunday, 24 January 2010

Easel Cards


I've just learnt how to make easel cards, and I'm now totally hooked.

Directions:
1. Start with a square card blank.
2. Fold the front cover in half inwards. (see picture)

3.Stick card on the front cover, glue only to the bottom half.
4. Put a brad, or 3D embellishment halfway down the back cover so the card can stand up.
5. Decorate

Fairy card.


Someday my prince will come card.


Love tree card.